now *this* is halloween
now *this* is halloween
How I Crafted Homemade Tentacles From Cardboard
Hello #PattersFam,
Without a doubt one of my favorite holidays is Halloween. I love our mass embracing of the strange and if you're me, the crafting of it all.
This is what I turned our house into this year.
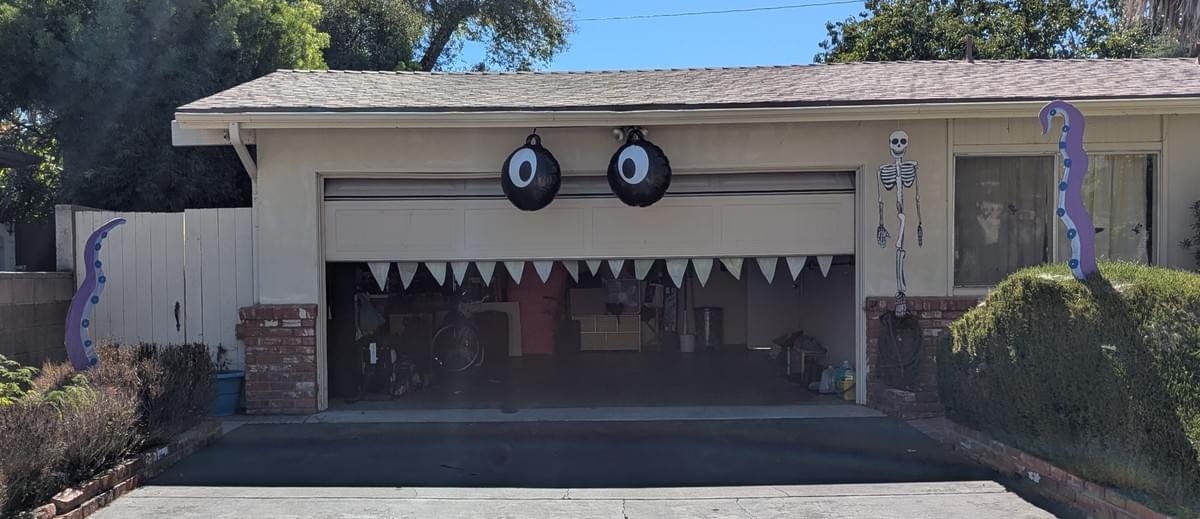
Let your freak flag fly! Also skeletons.
In the upper right hand corner is a cardboard-n-paint skeleton I made over 10 years ago on a crisp fall afternoon.
Or dare I say...CRAFTernoon.
I think I watched Pieces when I made that skeleton
Anyways, I had the idea to make some tentacles that were coming out of the bushes in the house we rent to live in and fill with joy, laughter and memories.
Honestly the landlord should be paying us.
So I enlisted my 7 year old daughter to bring this concept art to life.
Here is what we did:
#1 - Concept Design
There's a line in Babe about the farmer where once he gets an idea for something, he has to see it through. I get ideas all the time and many don't get seen through, but something like making tentacles out of cardboard and paint had just the right amount of stakes and time commitment and mainly I really wanted to do it.
Bonus if I could watch a scary movie during the process*
Also if you have kids in your life, you'll know the modern day struggle of getting them swept up in something to do IRL vs whatever endless convenient content is there to drain their lifeforce. The concept stage was necessary to convey to my daughter what I'd had in mind. We now had a shared roadmap and goal.
JK a little about the "lifeforce" comment, but my wife and I are both lifelong creatives and these days there's so much instant visual stimuli that the crafting and expertise behind it gets left by the wayside.
I think that's not great for being a human. I think being a human means getting crafty and loving that part of others too. So here's what we did:
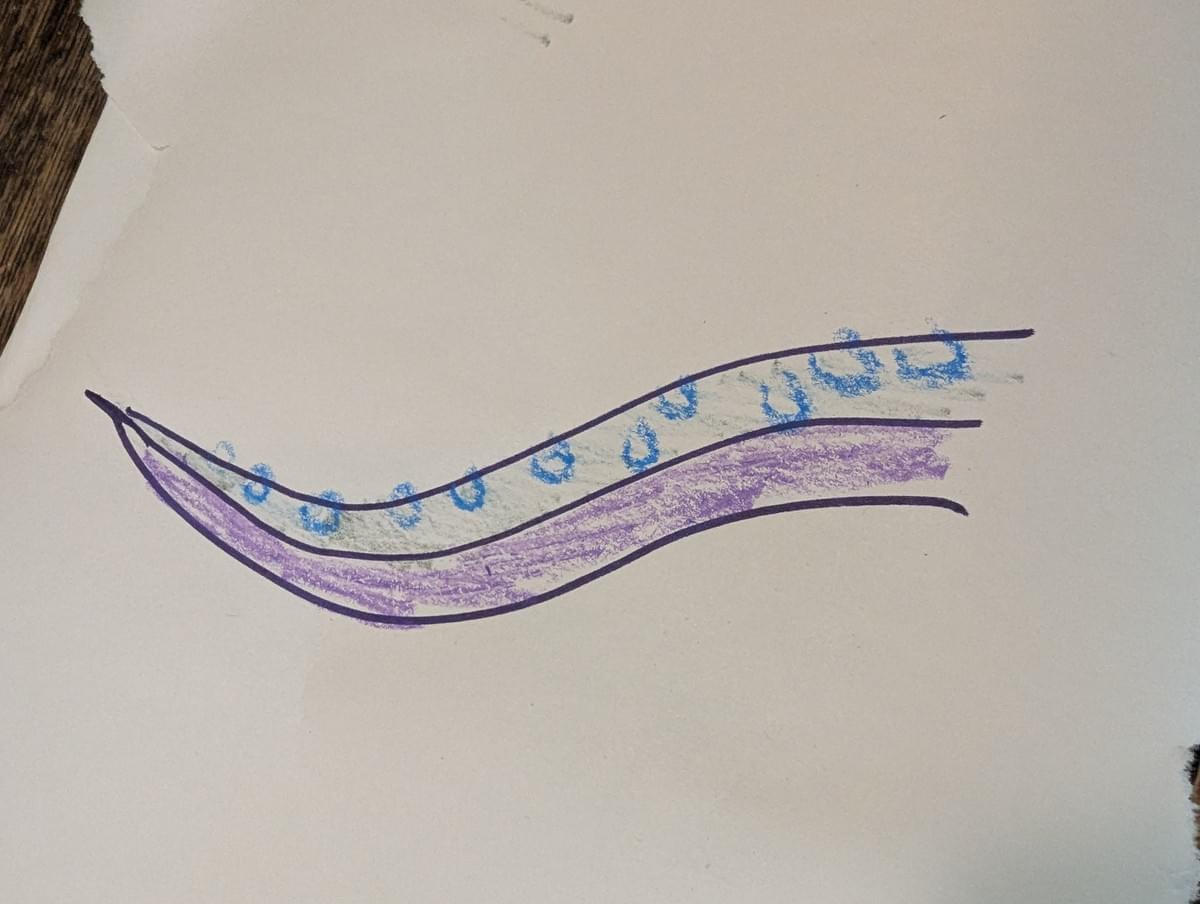
#2 - Drew paper patterns
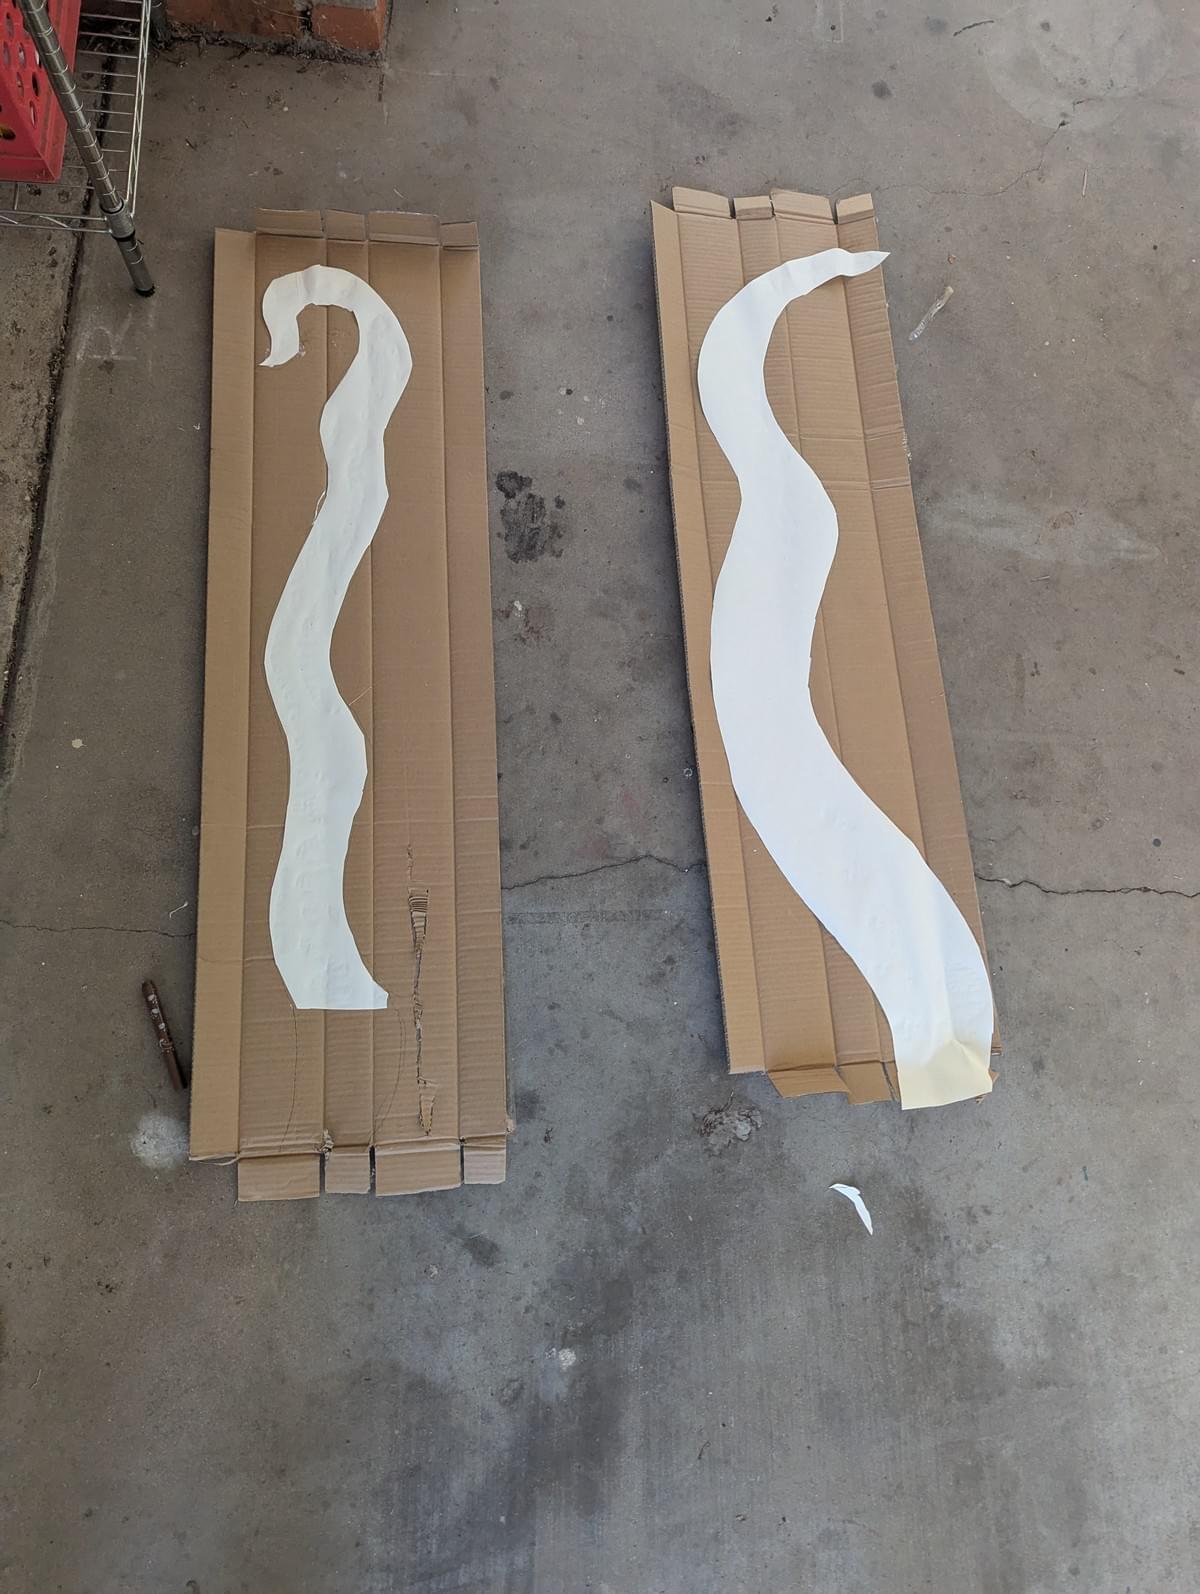
I just winged it when it came to the shape and size.
I told myself that if it looked off I'd do it over. These shapes looked alright to me so it didn't get done over. I also am very generous when it comes to making things for myself, drawing-wise.
I like my handdrawn style and also it is the height of my intelligence so how it comes out is how it comes out. It's soothing in its simplicity. I'm not trying to be a pro-drawer so it allows me to respect the true artisans while having fun in my own hobbyist world. Win win!
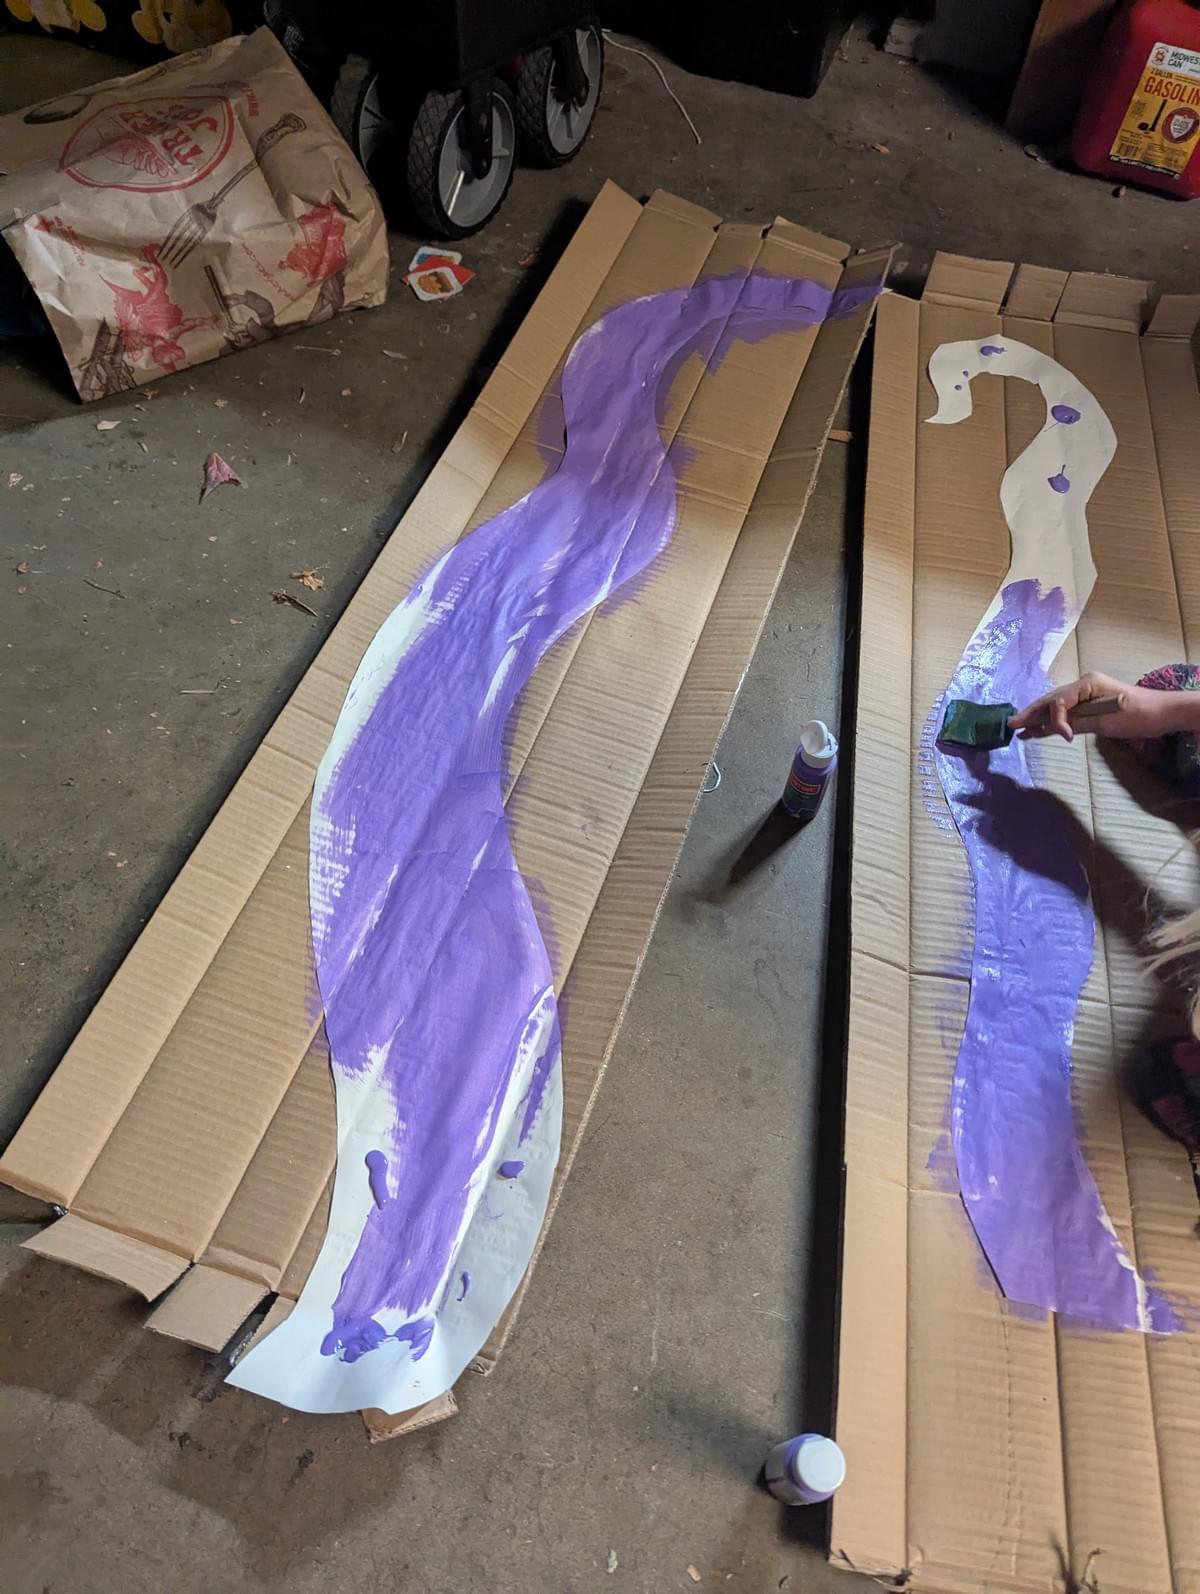
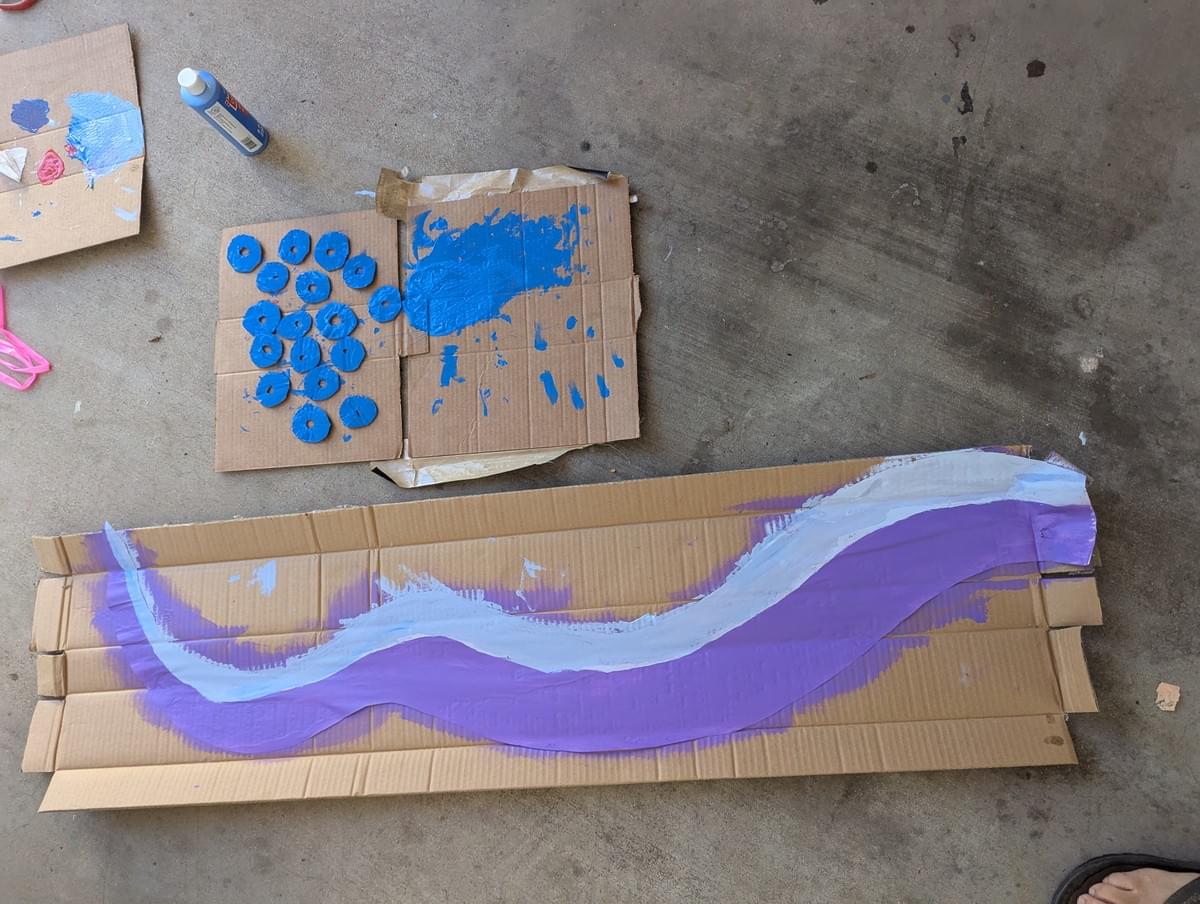
#3 - Choose paint and then paint the design
The white patterns helped the color register as a primer
It's no small feat getting my kid to go on a trip around town. She's old enough now to know it's usually for a boring reason like grocery shopping or a doctor visit.
I told her I needed her to help choose the color of the tentacles while suggesting that I had the purple/blue color scheme in mind.
But blue and purple are just starting points. There's like a thousand versions of both these colors, so we went to Michael's and perused their wares. My daughter landed on a beautiful "plum" color and a robust, kid-coded primary blue.
I was pleased with her collaboration as I knew that brighter, lighter colors would be more visible and cartoony which would support that handmade aesthetic of it all.
Also we saw some Halloween decorations that were a little too scary for her. I think it was like a rotten head or something. They sell rotten heads!
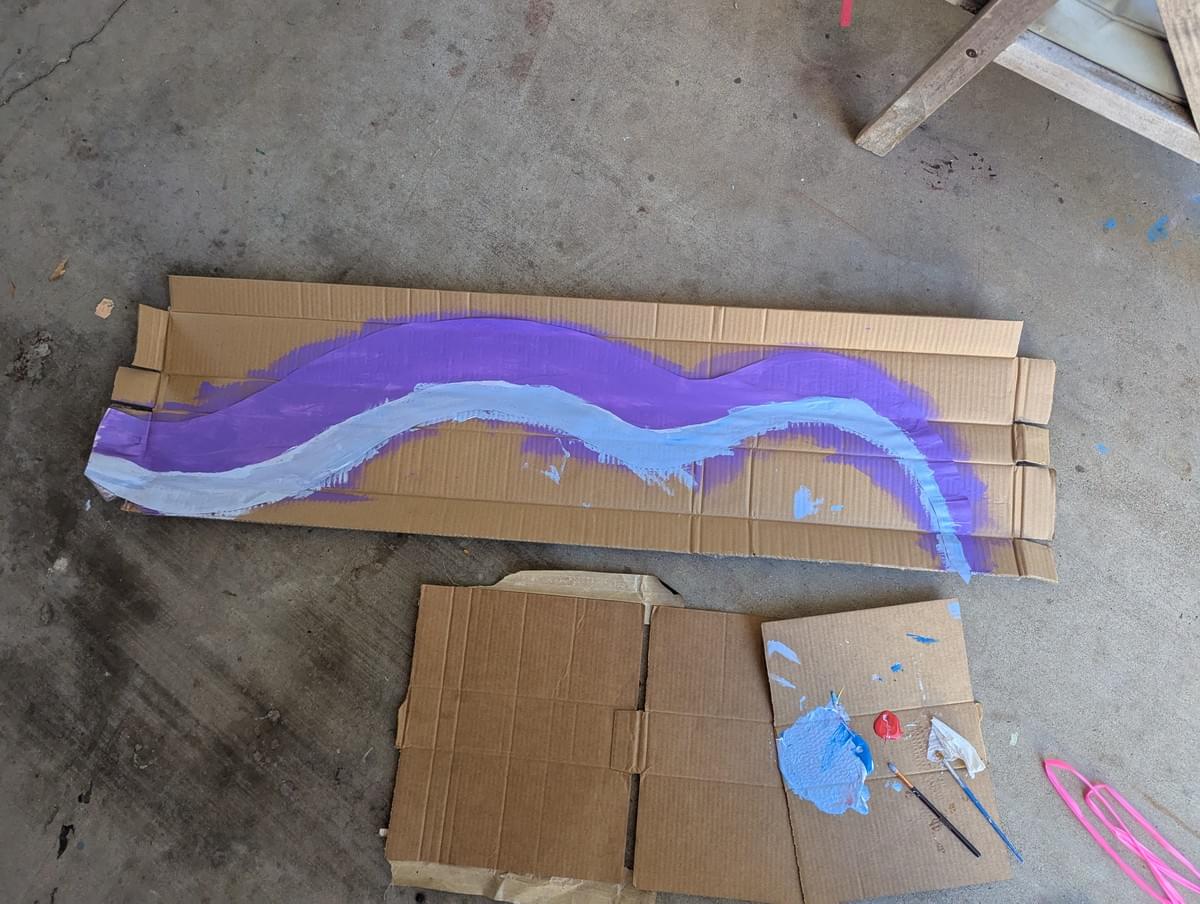
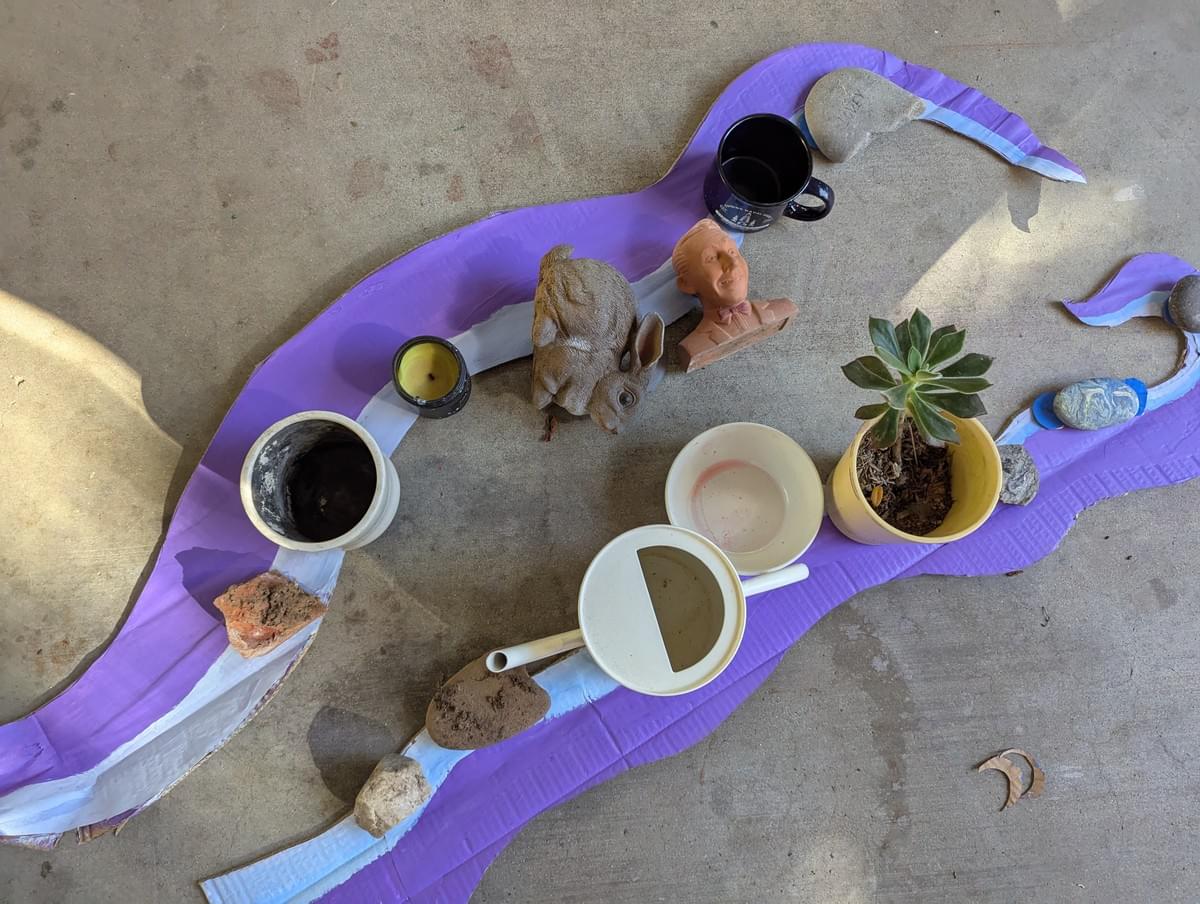
#4 - Mix and paint some more
One of my favorite things about collaborating with my kid is how she is more instinct than caution. I'll be freewheeling in one department and very cautious in another.
For instance I had been trying to deduce how to mix the right ratio of what colors with what and then she blasted right in there with a brush and concocted the perfect blend. I like the confidence.
To her mom's credit, my other-half is a trained painter and has spent a lot of time teaching our daughter some foundations, but I do think our kid has a preternatural eye for color matching.
#5 Make and add suction cups aka "suckers"
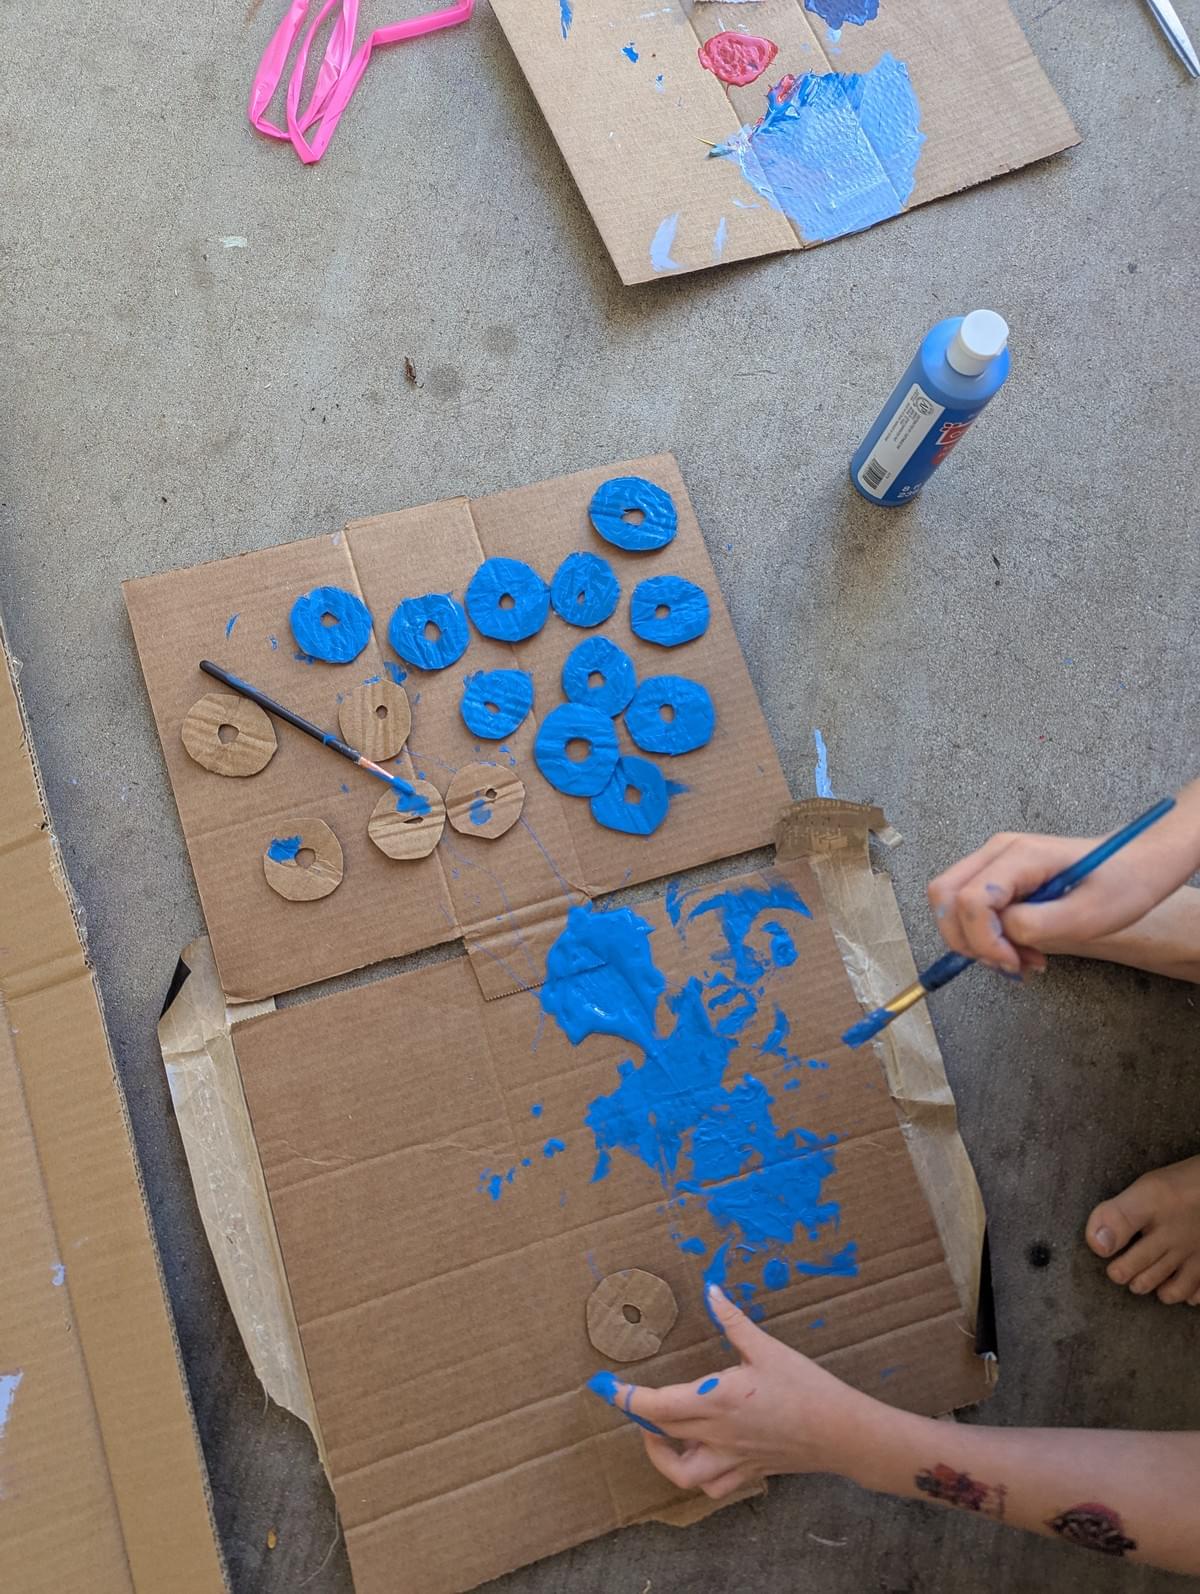
An element that finds its way into most things I make is the "light chuckle" element. It made me lightly chuckle to think of some DIY-looking, pronounced suction cups that reminded everyone that yes this is not a real tentacle and no perspective probably won't be honored. The blue was absolutely beautiful.
What a gorgeous blue, good job kid.
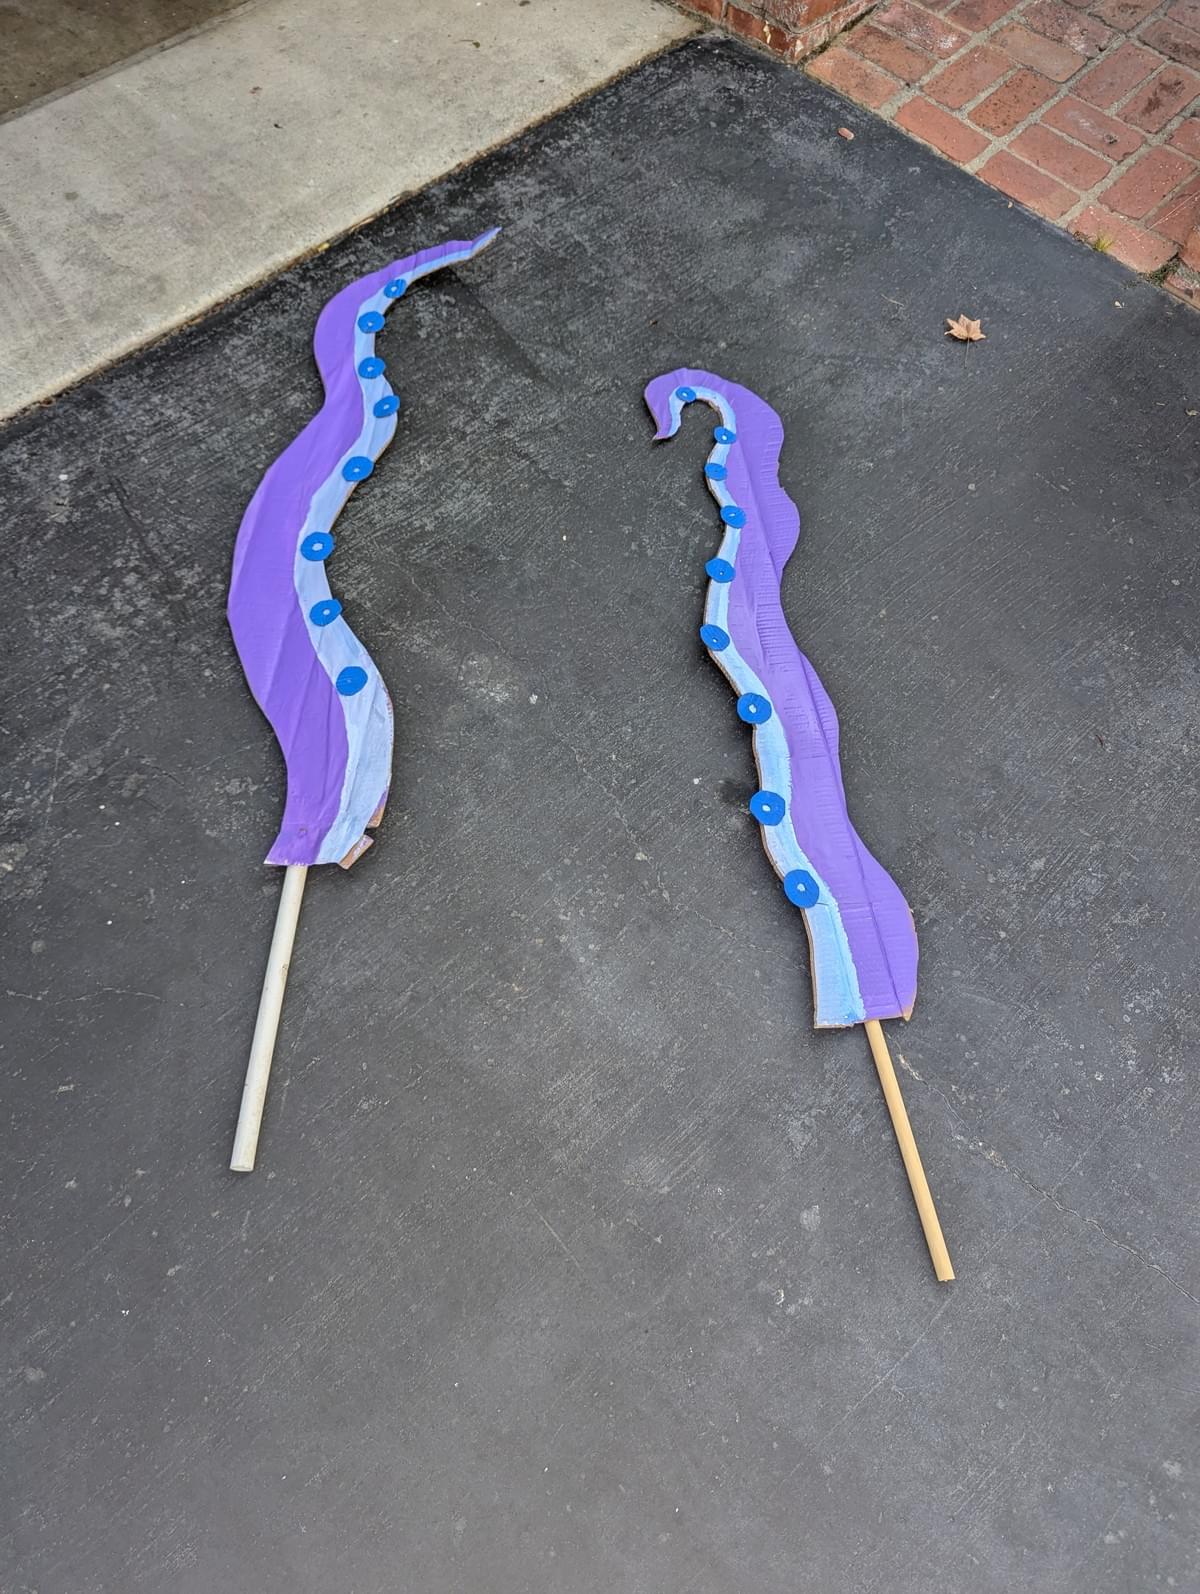
#6 - Cut out the tentacles
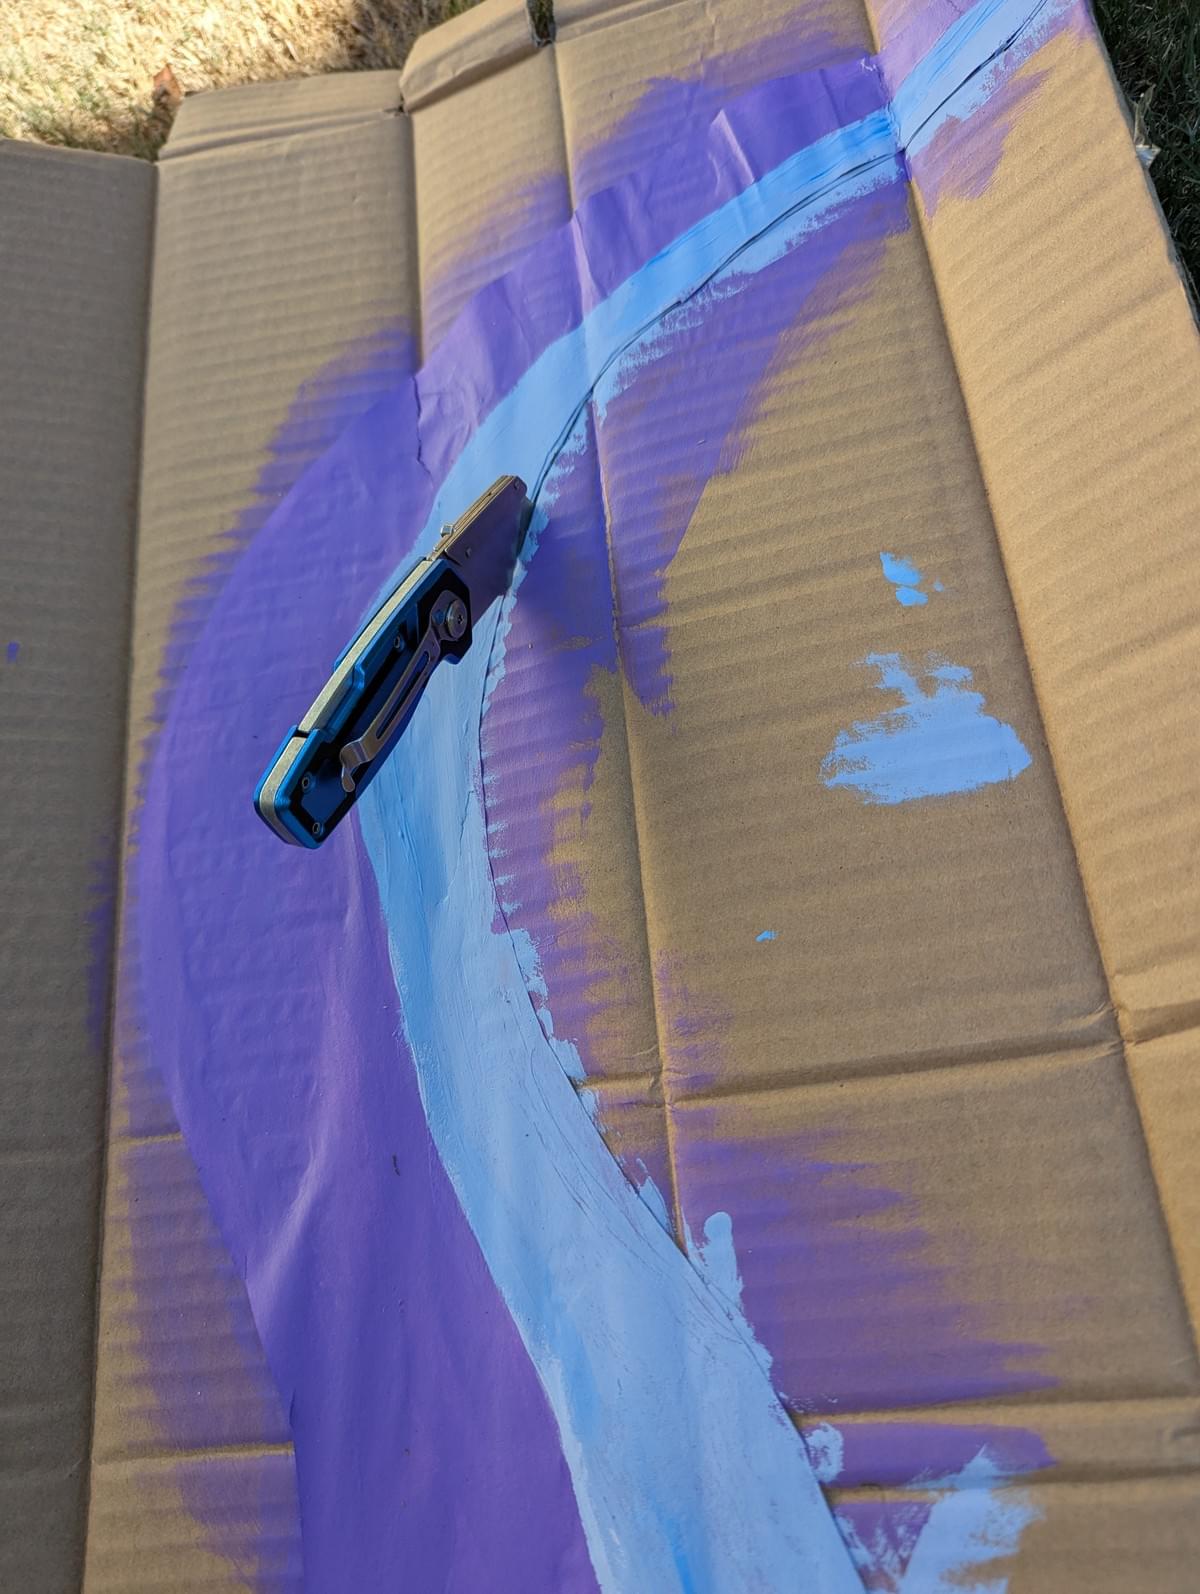
Once I was confident the paint had dried, it was time to cut out our tentacles. I left my 7 year old alone with the box cutter while I cracked a beer and stared at some sunlit gravel and laughed to myself at a half-remembered "Mr. Show" sketch. Then I saw a bird. Yellowish.
Relax I'm joking. I made sure my daughter was a safe distance away while I cut out these tentacles.
#7 - Glue on the suckers
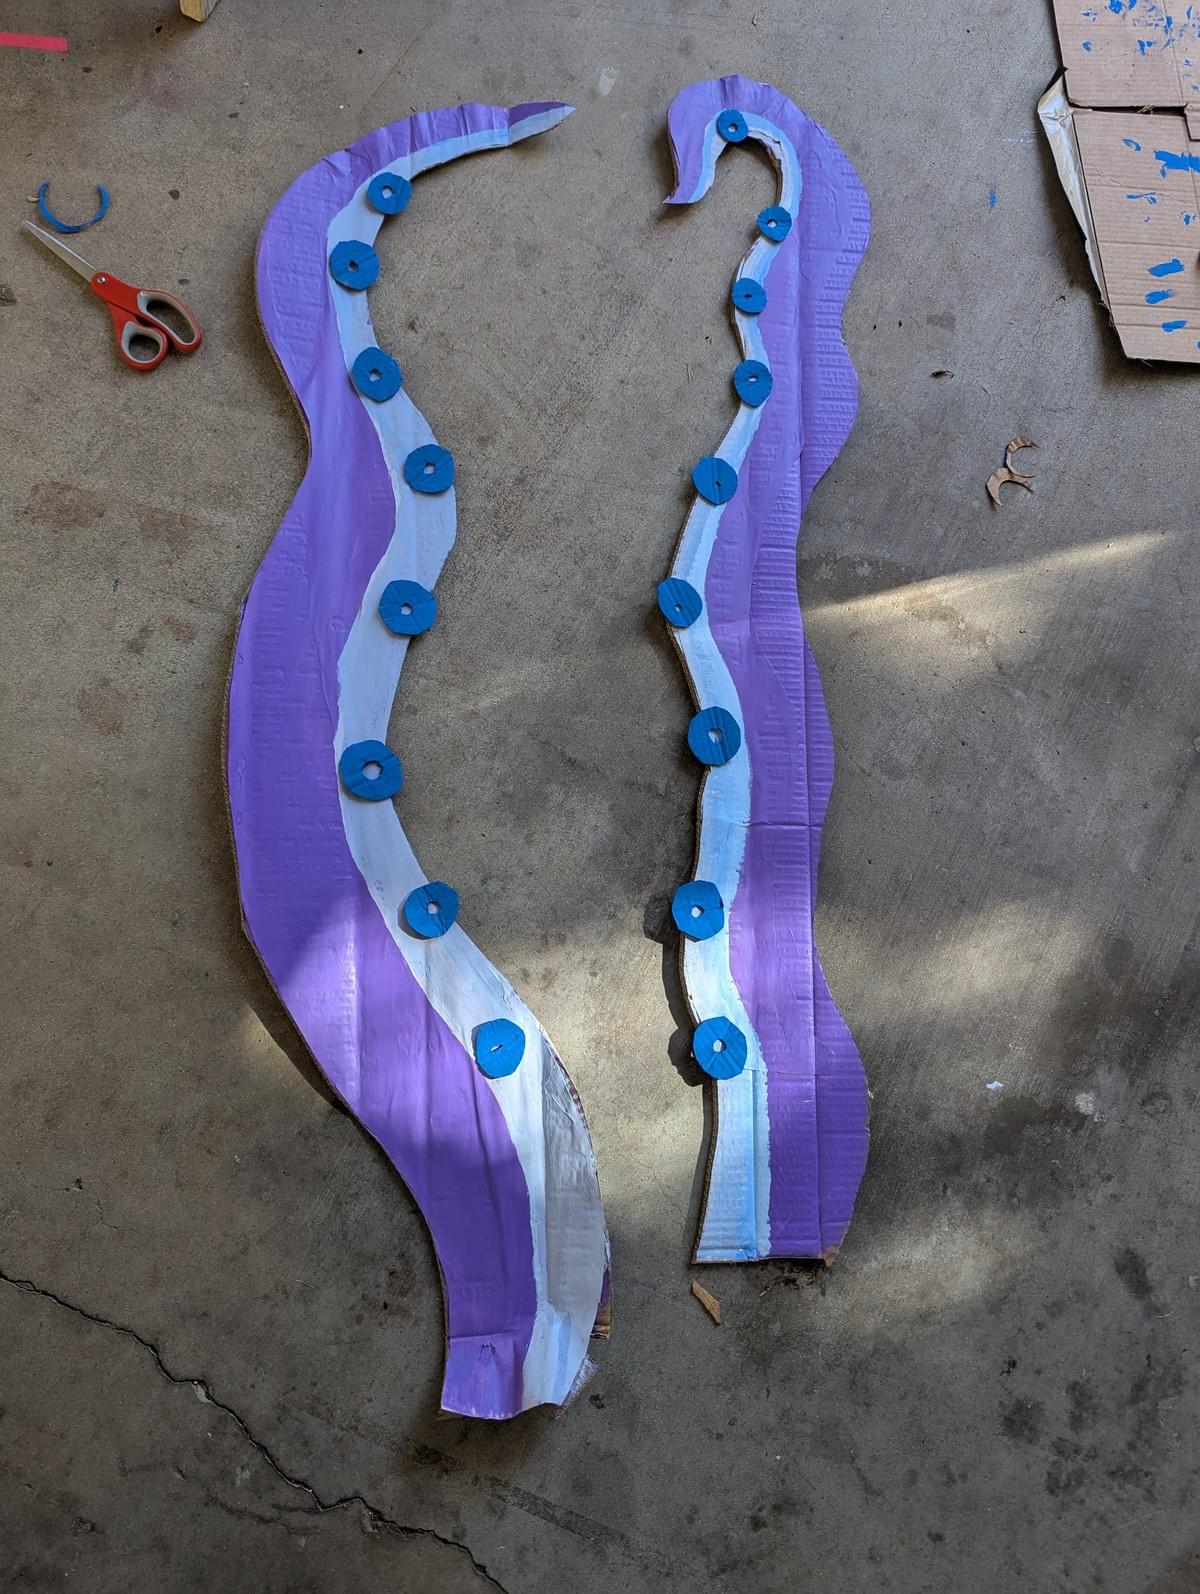
First, I laid out the suckers in a manner most pleasing to the eye. My eye. I wanted them to be an equal distance from eachother and if possible, suggest some kind of depth.
I know - didn't want to throw an acknowledgement of the real life thing all the way out the window. In my passtime (aka comedy/making stuff) I like to know what the appropriate version of things is so you can hang on to a truth as a reference point to the viewer.
I'm just saying this as an after the fact observation. When I'm making something, I mainly think about what it looks good to me and then stock away lessons to guide myself in the future about what I like. I think that when you move outside the confines of a known path, that's basically your imprint on things.
Time to glue the suckers...
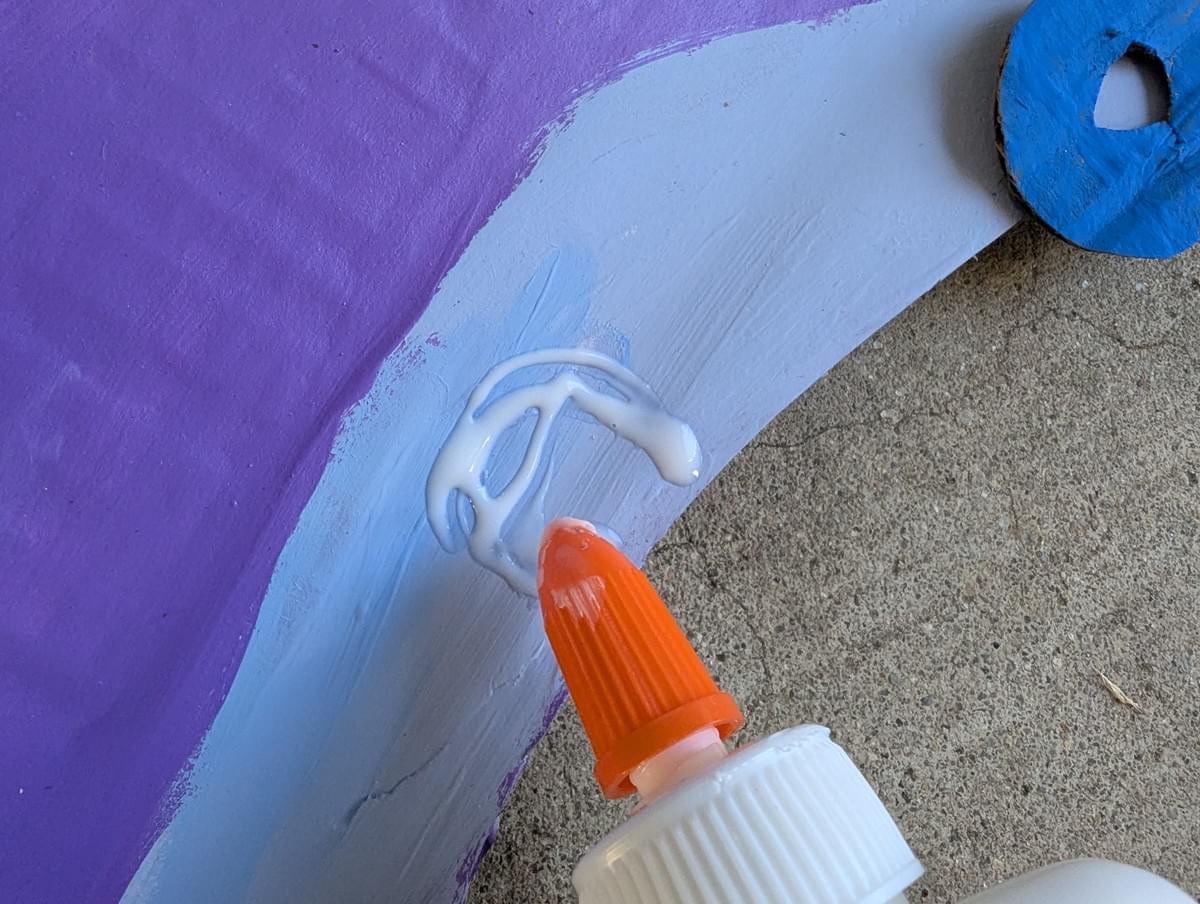
...and let them dry. I wanted the ultimate outcome to be structurally sound so I found various things from our backyard to hold the drying suckers down.
#8 - Seal the Paint
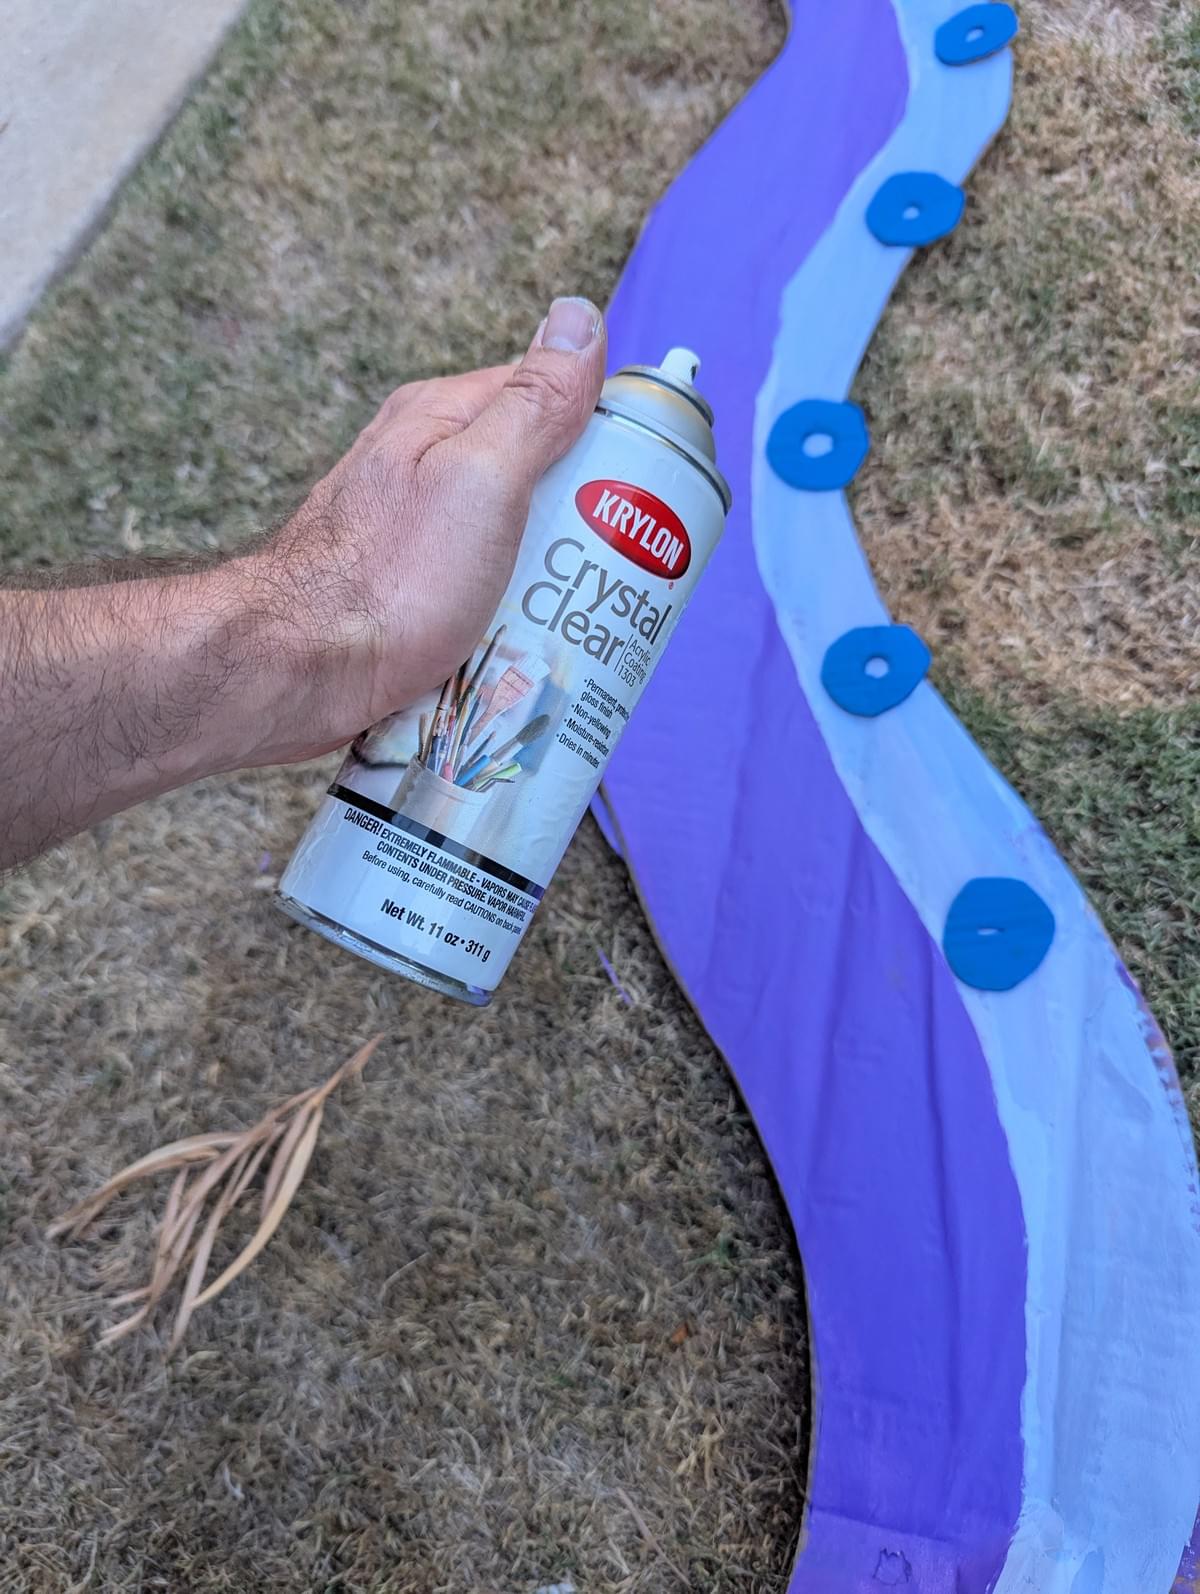
It never hurts to seal your paint. I didn't plan on leaving these out in the rain, but adding this clear coat also had an unforeseen benefit: it made the tentacles look glossy, like real tentancles. Again - not trying to fool anyone or give an old lady walking down the street a heart-attack thinking that her reality was crumbling.
Just like dancing back and forth over that line.
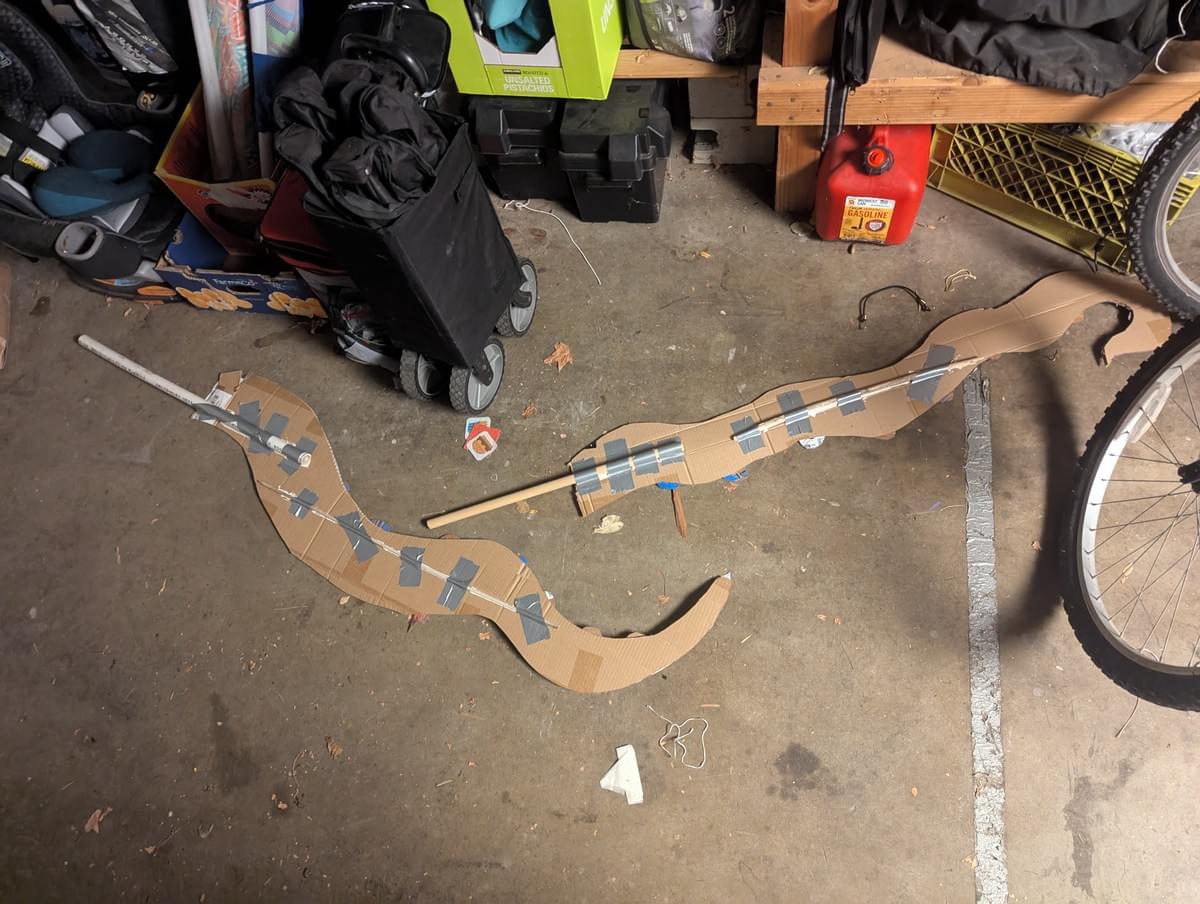
Since these were going to be stabbed into our bushes, and were made out of cardboard, I needed to have bracings that kept the tentacles upright. The mornings can be dewy here.

I gathered sticks and old wood from my garage and backyard for this purpose. Then it was just a matter of taping and glueing and waiting for things to dry again. Such is the crafter's life.
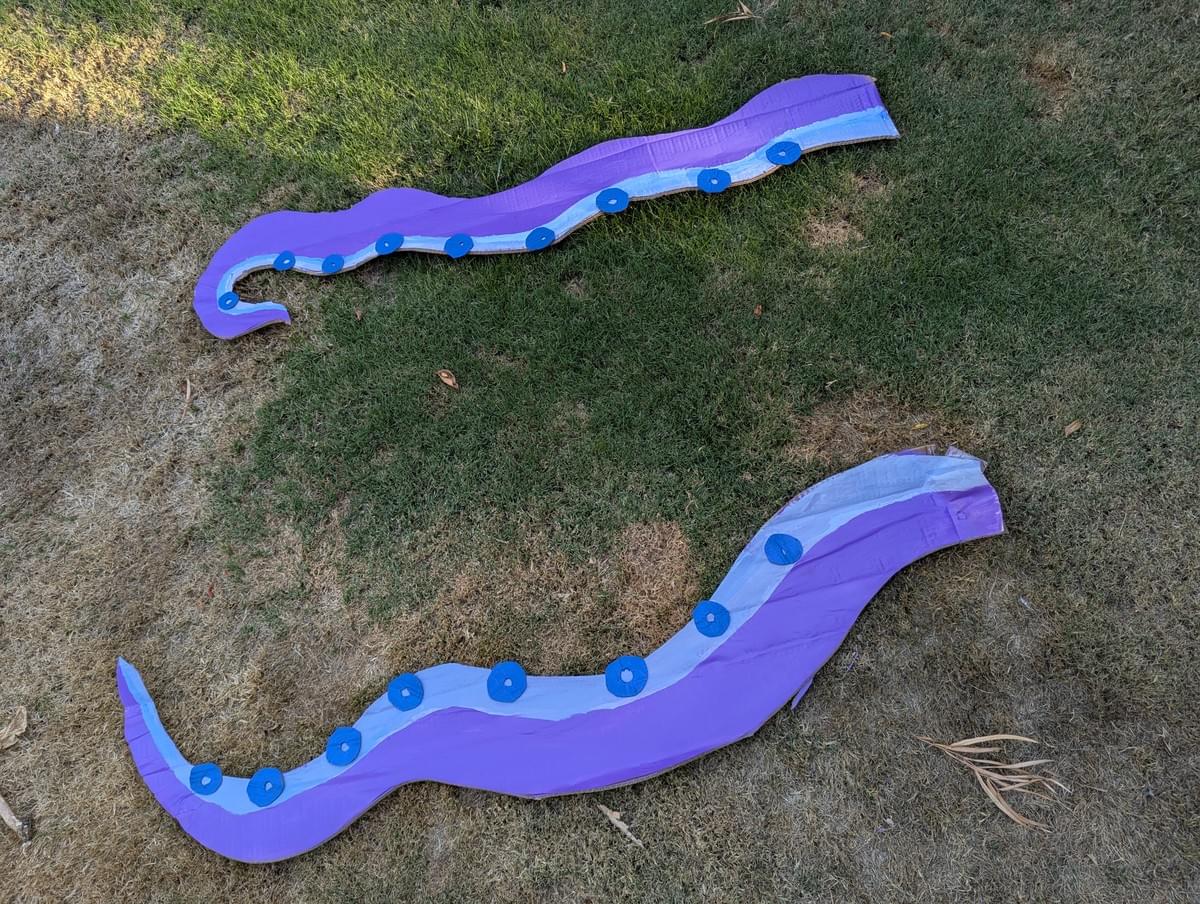
#10 - The tentacles are complete
The next morning the tentacles looked beautiful and ready to plan in my front yard bushes.
At this point, around our household this had become a real "dad" project so I think my family started giving me a wide berth.
Clearly this meant more to me than they could understand and so they listened patiently and made no sudden movements as a I beamed over my creation.
I gave plenty of credit to my daughter because like a good partner she pulled me out of my obsessiveness that threatened to leave this project in the perfection-stage.
#11 - Lessons Learned

Stay flexible but committed.
You can't plan for everything, but you should still plan but also still know that about 40-70% will be subject to change.
It put a real pep in my step to bring something out of my brain into the real world. It's thrilling to solve the little curveballs along the way and design on the fly. Having a plan is necessary but sticking to it is not.
For instance, get this: the teeth I made for the garage was a complete afterthought. It wasn't even part of any kind of plan.
I had "planned" to put the tentacles in a completely seperate part of the yard and suggest that there was a hidden monster in the bushes.
The inflateable eyeballs I only grabbed from the Dollar Tree because they claimed to glow-in-the-dark and figured I'd do something with them.
I only got the idea to incorporate the garage by giving it teeth and placing the tentacles on either side after the fact. Unbelievable, right? It looks like this was the plan from the start but it wasn't.
That's the beauty of following your instinct. Often times it is the thing that leads you to the thing. You kind of have to just go with that whim and see where it takes you.
Anyway, I hope you are making some fun things for Halloween and having a good time in life.
PS: We are nearing completion on the season finale of Finding Pattersby. This one is becoming very fun to make, but it is hella work.
If you would like to show your appreciation for all we've done so far please do leave a review: https://linktr.ee/patterspod
Or buy us a coffee here: https://ko-fi.com/patterspod